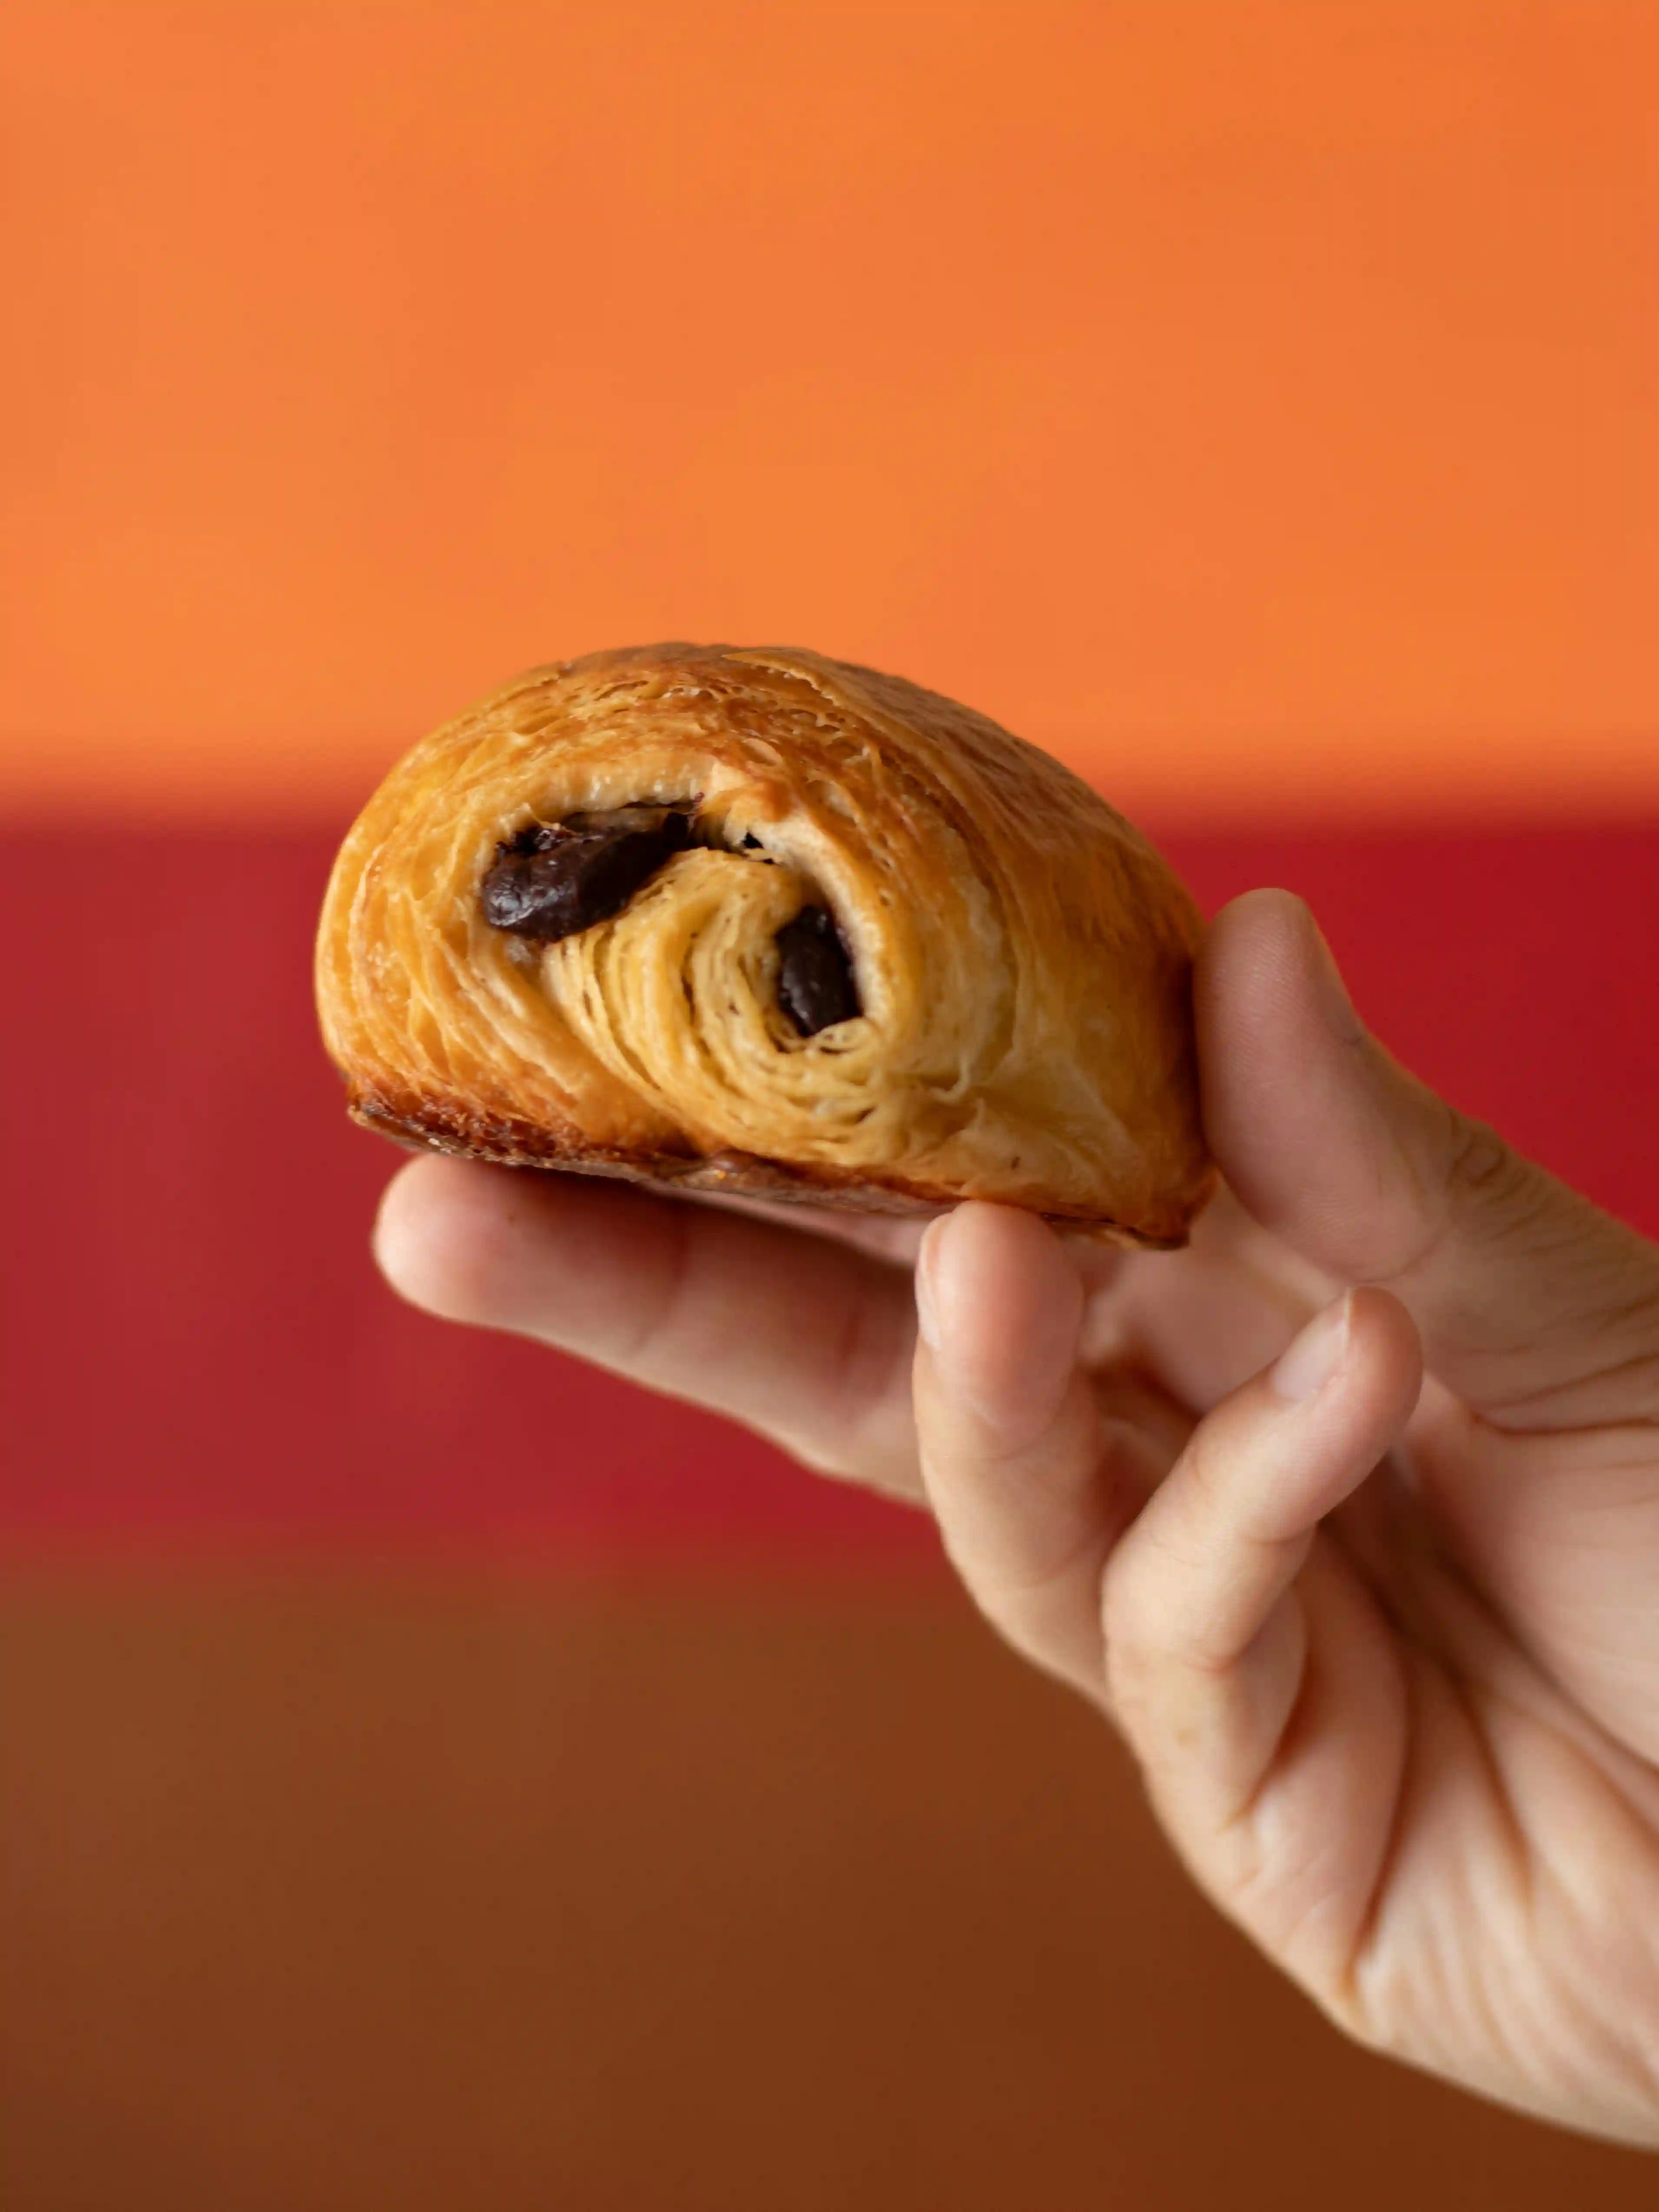
Pain au chocolat is one of those pastries that feels like a tiny celebration. You get that delicate crackle as you tear it open. Then, there’s the soft, honeycombed center. And finally, two warm ribbons of chocolate that make the whole kitchen smell like a French bakery.
It’s a classic viennoiserie made from the same layered dough as croissants—rolled into a neat rectangle around chocolate. And while it looks impressive, it becomes very approachable when you keep things cool, rest between folds, and let time do the hard work.
So today, here’s a home-friendly method inspired by a pro-style French recipe—written to feel calm, clear, and doable.
Before you start: what makes a great pain au chocolat
Three things matter most. First, they keep your layers crisp. And second, they keep the process stress-free.
- Cold dough + cold butter (so the layers stay clean and flaky)
- Enough resting time between folds (so the dough stays relaxed, not springy)
- A gentle final proof (warm, but not too hot—so the butter doesn’t leak)
Pain au chocolat recipe (makes about 14)
Ingredients
Dough
- 500 g flour (strong white flour is ideal)
- 45 g sugar
- 10 g salt
- 16 g fresh yeast (or about 6 g instant yeast)
- 200 g cold milk
- 50 g cold water
- 45 g soft butter (for the dough)
For laminating (butter block)
- 250 g cold butter (high-fat butter works best)
For filling + finishing
- Chocolate batons: 2 per pastry (28 batons for 14)
- 1 egg + a pinch of salt (egg wash)
Optional shine syrup (simple, but lovely)
- 90 g sugar
- 70 g water
Equipment
- Stand mixer with dough hook (helpful, not mandatory)
- Rolling pin
- Baking paper or silicone mat
- Bench scraper / dough cutter
Pain au Chocolat Step-by-step method
Day 1: Make the dough
1) Mix + knead
First, add everything to the bowl except the laminating butter (the 250 g).
Then, mix on low and increase slightly until the dough is smooth, firm, and cool.
Tip: Don’t let the yeast sit directly on the salt or sugar.
2) First rise
Next, shape the dough into a ball, score the top, and let it rise at room temperature until it starts to puff (about 1 hour).
3) Chill overnight
After that, roll it into a rough rectangle (about 2 cm thick), wrap well, and refrigerate 8–14 hours.
Because cold is your best friend here, this step is doing real work for you.
Day 2: Laminate, shape, proof, bake
1) Prepare the butter block
First, flatten the butter into an even rectangle between baking paper.
Then, chill until it’s cool and workable (not brittle, not melty).
2) Lock in the butter
Next, roll the dough so the butter fits neatly inside.
Then fold the dough over it like a book—fully enclosing the butter.
3) Do the folds (this builds the layers)
You’ll do the following, and each chill is part of the recipe—not a pause.
- 1 single fold, chill 30 min
- 1 single fold, chill 30 min
- 1 double fold, chill 45–60 min
If the dough starts feeling soft or sticky, pause and chill again. That simple move protects your layers.
4) Shape the pains au chocolat
Egg wash (lightly)
First, whisk 1 egg + a pinch of salt.
Roll + cut
Next, roll the dough to about 3–4 mm thick.
Then, cut rectangles around 9 × 12 cm.
Fill + roll
Place one chocolate baton near one edge and roll once.
Then add the second baton, finish rolling, and place seam-side down.
Brush carefully
Finally, brush a thin layer of egg wash on top.
However, don’t let egg wash run down the cut sides—it can seal the layers.
5) Final proof (second rise)
Next, proof in a warm, slightly humid spot for 1h45 to 2h20 at about 25–27°C.
If you see butter starting to leak, the space is too warm—so cool things down.
6) Bake
If butter has leaked a little, chill the tray 10 minutes before baking.
Then brush a second light coat of egg wash.
Bake at 175–190°C (convection) for 14–17 minutes, adjusting to your oven and pastry size.
7) Optional shine syrup
Meanwhile, briefly boil the sugar and water, then cool.
Near the end of baking, brush syrup on quickly, then bake a few more minutes for a gentle gloss.
8) Cool (the hardest part)
Finally, let them cool at least 30 minutes so the inside sets and the layers stay crisp.
A few calm “pro” tips that really help
These are small details, yet they make a big difference.
- Choose great butter. Higher-fat butter laminates more cleanly.
- Rest in the fridge between folds. This keeps layers crisp, not smeared.
- Don’t bake warm dough. If it feels soft, chill it—otherwise the butter escapes.
Make-ahead and freezing
Thankfully, pain au chocolat is wonderfully freezer-friendly.
- Freeze shaped (unbaked): Freeze on a tray, then bag. After thawing, add about 1h30 more proofing time.
- Freeze baked: Up to 3 months. Then re-warm in the oven for a few minutes to bring back that crisp flake.
One last detail: pain au chocolat or chocolatine?
Call it what you love. It’s the same pastry and the same joy—just a different regional name.
Quick timing cues for your kitchen (so it stays easy)
If your kitchen runs warm, you’re not alone. So here are simple cues that keep your dough happy:
- Cool kitchen: Proof closer to the shorter end of the range, and your folds may feel easy and clean.
- Normal kitchen: Stick to the schedule, and chill whenever the dough feels stretchy or glossy.
- Warm kitchen: Shorten counter time, chill more often, and proof in a slightly cooler spot (even a turned-off oven with the light off can be too warm).
A warm finish
When you bake pain au chocolat at home, you’re not just making breakfast. You’re making a moment—quiet, buttery, and deeply satisfying.
And if you love this kind of French comfort, Eclairs Cafe is opening soon. Follow our page on Instagram to be the first to see what’s coming, what’s baking, and the little elegant breaks we can’t wait to share.